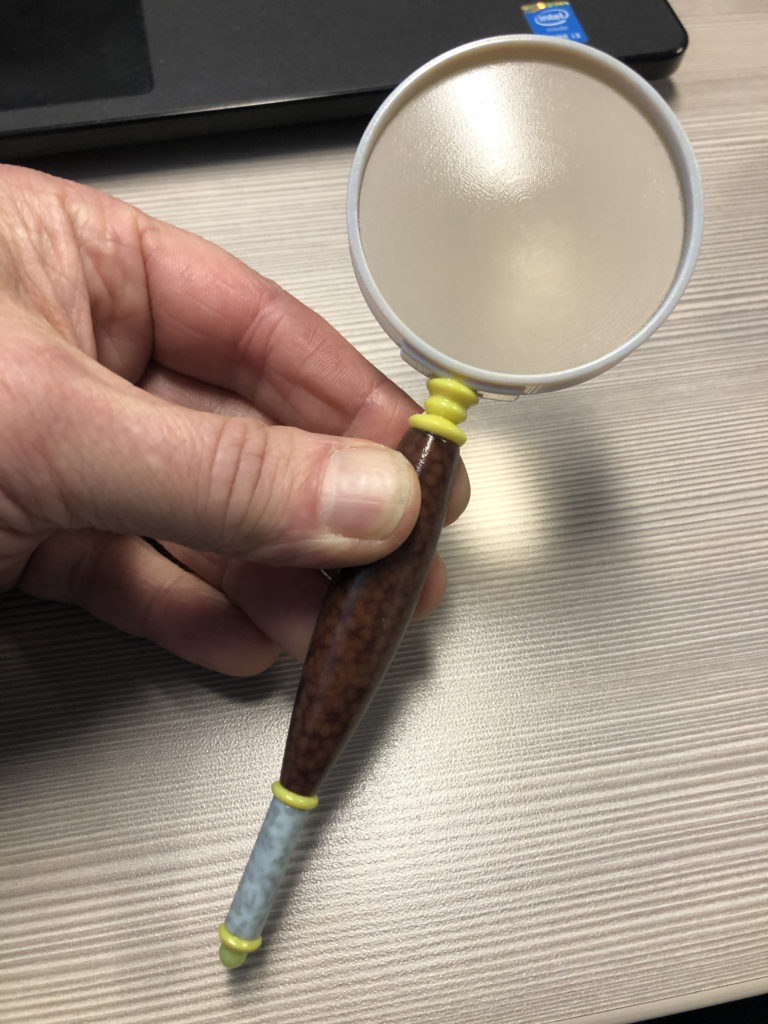
After we setup the Stratasys J55 3D printer in our demo lab I immediately began exploring different approaches to producing multi-color and multi-material prints. I was amazed to find how easy it was to add color and texture to any part of a 3D model in KeyShot. Since the J55 is capable of printing with clear resin, I thought to model a simple magnifying glass based on some antique designs I found on the web. Read on to learn more about my workflow!
Design in Fusion 360
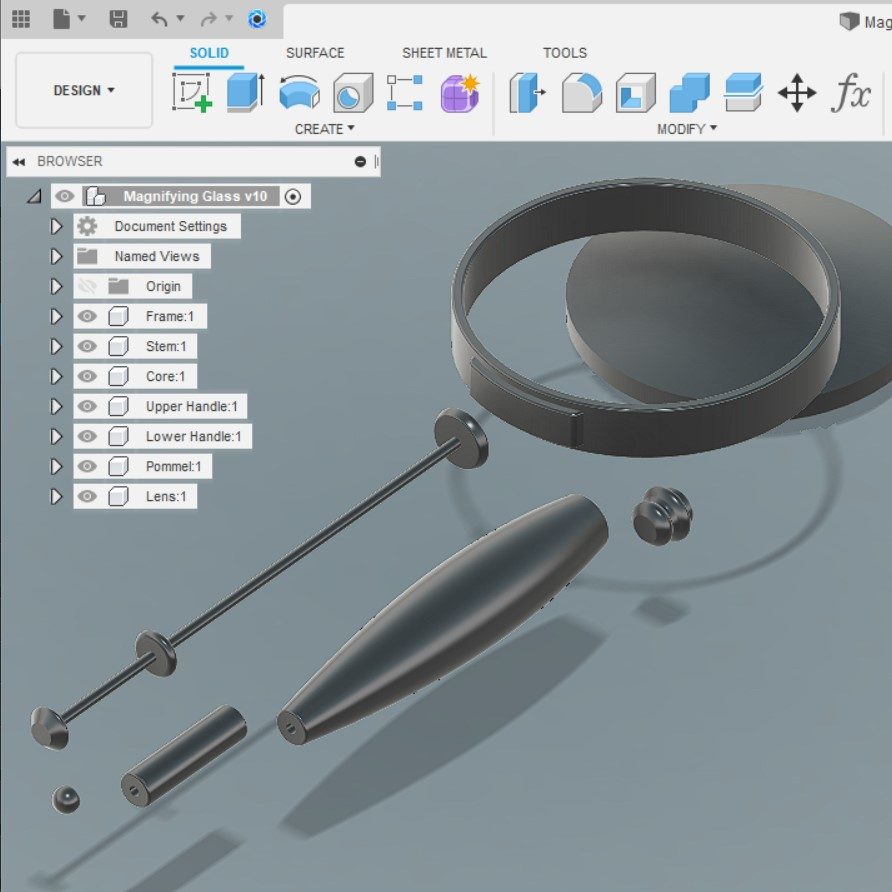
When modeling for multi-color printing it's important to create your design piece by piece, making sure all of the model's parts are separated into their own components (or bodies). In most CAD software we can create parametric models in this way which allows us to change any given part and the parts its associated with will change as we so define. In the image below you'll see the whole model is a default grey color, however, if you added color in Fusion 360 it would transfer over to rendering software like KeyShot. From here we export the entire model as a ".step" file.
Working With KeyShot
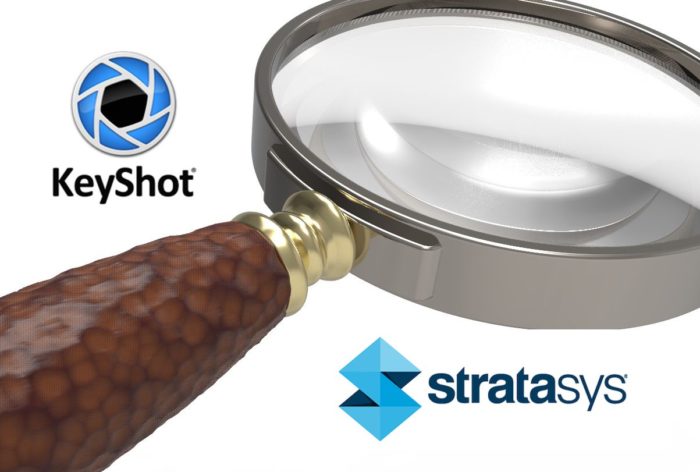
KeyShot is 3D rendering software similar to Blender and Maya. It's capable of creating lifelike renderings and animations of 3D models using a suite of tools. One way it differs from its competitors is via its .3mf export function. 3MF is designed specifically for the digital fabrication workflow, packaging things like color, texture, and transparency together to be used with multi-color printers like the J55. At the most basic level, we import our .step file and drag and drop materials onto any component of our model to produce a lifelike version of it. Export to .3mf and we are on to the next step!
GrabCAD to J55
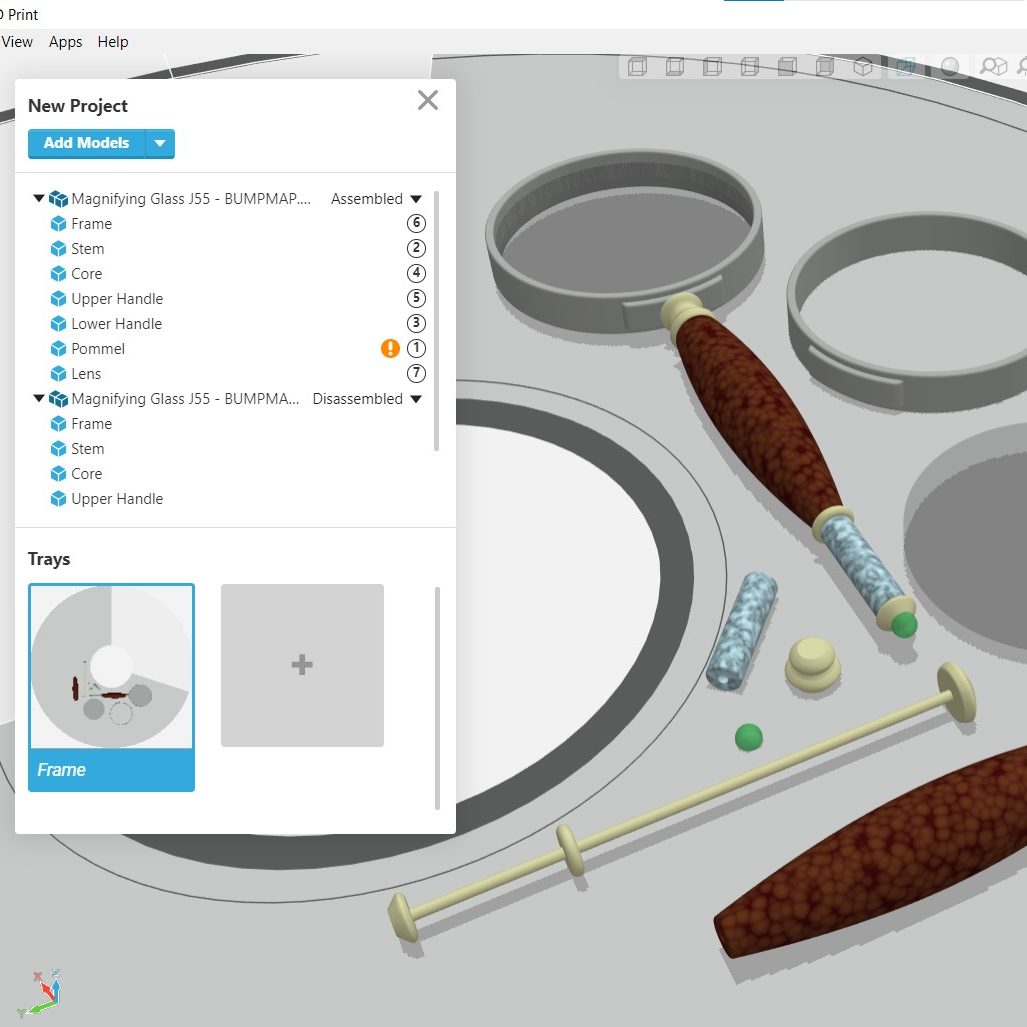
After seamlessly applying colors and textures in KeyShot we can open our .3mf file in GrabCAD Print. GrabCAD is used to prepare and send files to all Stratasys printers. Not only will all colors and textures be accurately preserved as they were in KeyShot, but we can perform even more fine tuning in GrabCAD. Like the CAD software we use to create our model, and the rendering software we use to texture it, GrabCAD also recognizes the model's components separately. At this stage, we can tweak colors and transparency of different parts, but perhaps the most remarkable feature is the ability to apply a completely different material to a part. For example, I could assign the Aglius 30 material to the magnifying glass's handle to produce a rubber like grip! Finally, we choose a glossy or matte finish and send the assembly to the printer for production!