How do you take a basic 3D print and turn it into a lesson on advanced manufacturing, prototyping, & production concepts?
Better yet, one that is easily replicated by students as young as middle school?
That’s the question some New England tech instructors came to AET Labs on Tuesday to explore. MakerBot’s Camil Touimi joined us from headquarters in Brooklyn, and led a hands-on post processing Makers Workshop on “How to Create a Silicone Mold around 3D Printed Masters.”
This was a fun professional development opportunity for our team to break-in our new training center, and for attendees to learn a versatile, real-world technique to share in their classroom.
Silicone molding is a powerful production method which when combined with 3D printing can:
- Allow you to make several copies of one product
- Create a product in a material that isn’t supported by your 3D printer
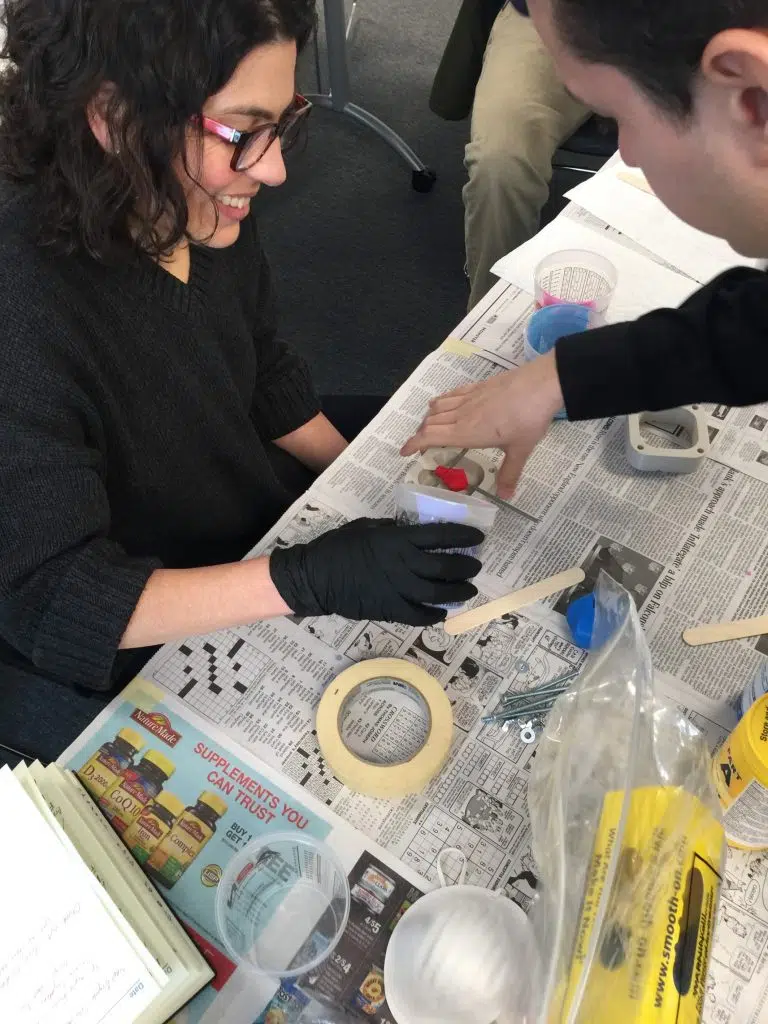
Touimi took the class step-by-step through the process of taking a 3D printed part, mixing the right ratio of components for creating the silicone base, assembling the mold in a way that avoids air bubbles or inconsistencies from forming, and showed how to properly mix the classroom-safe resins which were purchased via Amazon. (Side note: Tasker Smith, student mentor at MIT’s Pappalardo Labs, recommended Reynolds Industries of Brighton for any instructors looking for a source from which to purchase larger quantities of mixers.) The PD course included materials as well as a lesson plan & STL files that educators can bring back to their classrooms. Actively participating in making a mold really helped demonstrate how the applications for this method are endless, whether you are teaching engineering or the arts.
In addition to creating a reusable mold, attendees were given a demonstration of the MakerBot replicator in action. AET President and Senior Technology Consultant, Dave Kempskie also showed the group how GrabCAD Print empowers teachers to manage their student’s work-flow with a single, open, cloud-based environment for job preparation, scheduling and monitoring. Explaining how easy, and intuitive the software is to use, Dave highlighted how it enables students to troubleshoot their CAD designs for 3D printing with an error detection and repair tool.
The day also proved to be a great networking opportunity, and forum for educators to share ideas, resources and successes they’ve had in their classrooms. Thanks to all who participated! We’re looking forward to hosting Part II of this workshop in the near future, and helping instructors further expand on their 3D printing craftsmanship skills. Stay tuned!

Instructor Kristen Magas from Tri-County Regional Vocational Technical High School get tips & tricks from MakerBot’s Camil Touimi on the best techniques for pouring silicone into a 3D printed mold.

Instructors Paul Hayes and Michelle Getherall from Woburn Memorial High School mixing silicone components to create a mold. WMHS has recently welcomed a donated Stratasys FDM printer. We can’t wait to hear how this machine enriches their STEM program!

The mold assembly ready for pouring.

Sean Callanan of Northeast Metro Reg Voc working on the silicone molding process. We enjoyed hearing how Callanan had used 3D printing in an interactive project that asked students to design custom fishing lures which they were then able to field test in a nearby fishing spot.

MIT instructor, Tasker Smith sharing a past project designed by undergraduate students, made possible by experimenting with molding techniques in the Pappalardo Lab.

Touimi showing instructors the 3D printed piece which will be replicated. Incidentally, Instructors Hayes and Callahan were buddies who hadn’t seen each other in 20 years! Glad AET Labs can do our part in reuniting like-minded educators! 😉

Camil Touimi sharing a heartwarming education 3D printing Case Study of two high school students that were motivated to help a disabled classmate with an accessibility issue opening her locker. The kids were able to design & create a custom 3D printed solution – an instance that wouldn’t have been possible without a makerspace at-hand in their school.

Voila! The end piece which resulted in a replicated cap to use with the 3D printed perfume bottle. Instructors were able to bring their projects back to class.


